Pro.DiffAnalyzer
Client Requirements
Every component undergoes a number of geometrical changes throughout the development process before it is finally released for production. The individual design engineer knows exactly what adjustments he has carried out. But what about the others involved in the creation of the product? Do they immediately know if, and at what point, modifications have been made? The answer is definitely no! It is however imperative for everybody who is involved in this process to be informed promptly of any modification which has been carried out in the package space. If this is not the case, further product development could head in the wrong direction, or errors could oc-cur which would be extremely expensive to rectify.
Teraport Solution
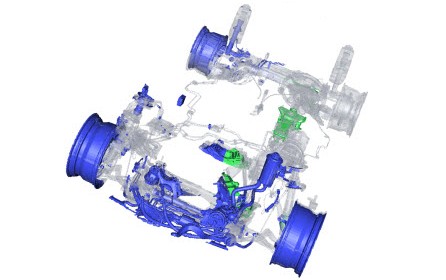
Pro.DiffAnalyzer identifies the geometrical changes in the differing development statuses of complex products. The two models for comparison can be easily selected with the workflow user interface DMU.Connect or within a workbench of Teraport’s 3D-Viewer DMU.View. A tolerance limit can also be selected for the desired level of accuracy. The results of the geometrical differences are then provided in the form of 3D models. The user can, at a first glance, see if geometry has been added or taken away. The results are also provided in various formats, which enables the user to further process these results in any given system.
Benefit for the Client
A key benefit for the client is that a quick visual and geometrical overview of the up-to-date database can be achieved with this solution. All the geometrical changes can be viewed at any given time and with 100% transparency. This would definitely not be possible with manual checking methods. Moreover, the areas for the employment of Pro.DiffAnalyzer range from the preparation for management presentations, the supervision of series production, the receiving inspection of suppliers’ data, the quality inspection of diverse data formats and version comparison, to the checking of geometry changes which are not visible to the naked eye. Calculations carried out by an automobile manufacturer have shown that the geometric differences between the two development statuses of a complete vehicle, comprising approximately 3000 components, can be detected within a time frame of less than two hours.

